

Deciding what type of roof you build will depend largely on the materials and resources available to you, as well as your particular climate. Each technique has its own set of advantages and disadvantages.
A poured concrete roof is about as strong as you can get. You will be able to walk on it without ever thinking twice about falling through. It is also cheaper than metal and almost silent in the rain, though metal is faster.
You can make a form from underneath, and then pour your roof onto that form, which later gets removed. Or you can do a ceiling and insulation first (with a layer of plastic over it as a vapor barrier), and use that as your form. In this latter option, you will either have to make the ceiling strong enough to walk on, or set up scaffolding to support your weight while you pour.
Pouring the roof is similar to pouring a slab, in that you want to stretch metal reinforcement, like remesh, over the whole area. Raise it up a little, so that it will be in the center of the concrete. You then pour and trowel the concrete over the area. Mix it as dry as you can. Not only is this stronger, it will also be less prone to “fall” while you are pouring.
When pouring a concrete roof, you aim will be to do it as fast as possible. If you have cold joins in concrete, they can be at risk of leaking. The key to moving fast with concrete is a good crew. You’ll need someone to mix (more if you don’t have a machine), a couple of people to pass the mud, and a couple of people on the roof to spread it. It also helps to have an extra person that can do all of the jobs, picking up any slack.
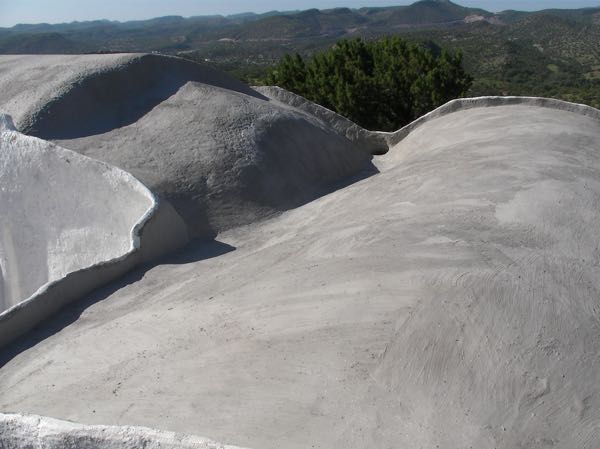
Arches are always stronger than flat roofs, so it is best to design your concrete roof as a gentle arch, rising up a couple of feet in the center.
Adding fibers and acrylic to your concrete mix will help prevent cracks and make it more waterproof.
Keep the roof moist for several days to ensure that it cures slowly. If it dries out too quickly, it is more likely to cause cracks.
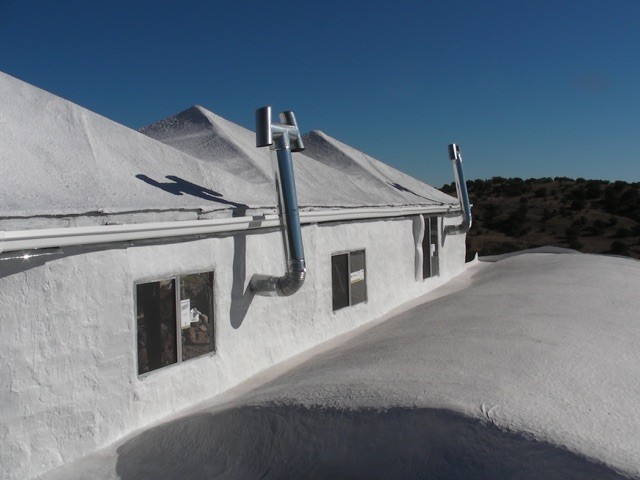
Once the roof has dried, you will want to cover the whole thing with a waterproofing paint, preferably with fabric. To include the fabric, put down some paint, lay the fabric on top, and brush more paint into it.
You can either attach gutters to the concrete roof, or build them with concrete. The latter is the harder of the two option. We made our gutters into our roof, and had to spend a long time troweling them to make sure there weren’t any dips and that it all sloped towards the downspouts.

Latex concrete offers a strong, fluid end product. It involves the application of a watery cement and acrylic mix to a fabric that is stretched out between main structural supports. It makes for a very unique roof.
We have a detailed description on how to make a latex concrete roof.
There is almost nothing faster than a metal roof, so if speed is your priority, metal is a great option. However, it is expensive, not particularly durable, heats up in the sun and is loud in the rain.
We tend to use metal roofs for barns or sheds, as it is so fast. The disadvantages are not so noticeable for these kinds of buildings. One big advantage with a metal roof, other than speed, is the fact that it works great in a rain catchment system. In a week, you can have a roof up for an animal shelter and feed storage, and have it catching the animals’ water.
You can make your frame out of wood or metal, but metal is preferable. It is stronger and will last longer. If you go with wood, always use screws instead of nails, as they will not pull out as easily in high winds.
The roof frame will sit on posts or a wall. In the latter case, make sure the frame is securely tied into the walls – we have seen neighbors’ whole roofs blown off in a storm.
You can do a roof that peaks in the middle, or one that slants from a high to low. You want the angle of the roof to be fairly steep, especially in an area that sees a lot of snow, as the snow is heavy and can collapse a flat roof.
You will need rafters that span the width or angle of the roof. The frequency of these rafters depends on the material you use. You can use trusses, which are stronger and can span a greater distance.
On top of the rafters or trusses you will put purlins. These run perpendicular to the rafters and are what you will attach the metal to. These are also what you may have to put your weight on to screw the metal on. Purlins typically are placed every 3 ft or so.
You can usually buy sheet metal in different sizes, so size your building the width and length of what is available. The metal can be cut, but it’s kind of a pain.
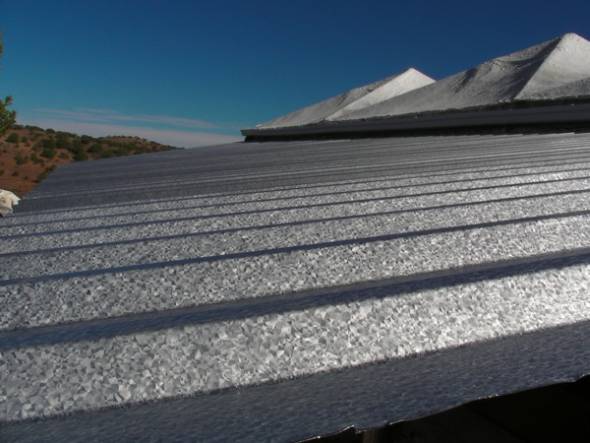
You can buy flat, corrugated or with rises every once in a while. It is always best to buy something that is already painted, as it will last longer and is better for catchment.
Most metal roofing panels slot together, so the trick is to get the first piece square. If that piece is off just a little, by the time you get to the end of the roof, it will be off by a lot. So take your time, view it from all angles, and get it as square to your frame as you possibly can. Pop a chalk line on the metal to mark the center of the purlin and then put screws in along this line.
Then you just put up piece after piece until you are done. You can take off any uneven bits with tin snips.
NEVER put up a metal roof when the wind is blowing. If it should suddenly start before you have a piece of metal attached and it starts to fly, let it. It might cause damage that way, but you might get away unharmed.
You will want to put up flashing on the sides of your roof, to avoid any rain getting up under it. This is easy to do and worth it.
If you do a peak roof, you will also want a ridge cap. Again, not a big deal.
At the bottom of your roof’s slope, you can attach an end board. Put a string level up, then drop one end an inch or two and pop a chalk line to mark it. Attach the gutter to this sloped line.
You will want to put a downspout on the gutter and take the water wherever you want it to go.

An arched brick roof is cheap, strong and natural. Many very old buildings with this roof survive to this day.
A brick roof is a system that we really want to try one day. Hassan Fathy’s book, “Architecture for the Poor”, is an inspiration to all low-tech and thrifty builders. You can make the arch out of bricks like adobe or CEBs. It supports itself and ends up being very strong.
This type of roof is very common in areas where wood is expensive, like in Egypt, where it was developed several thousand years ago. Because each course of bricks rests on the course below no forms or structures are needed to hold the shape. It has since gained in popularity all over the world.
The trick to such a roof is to build an end wall, as tall or taller than the peak of the arch. You can begin the arch on the floor, so that the whole house is an arch, or start it on the top of the walls that butt up against your tall, end wall.
In the corner, where your wall or floor meets the end wall, lay a brick at an angle, so that it looks like it is leaning on the end wall. The next row, lay two bricks, parallel to the first. Continue with these courses until the roof is finished. It will be self-supporting.
You can then stucco or plaster the outside. You will be able to walk on it, so this will be pretty easy. You can put gutters on the ends of the arch to catch rainwater.
If wood or metal is expensive in your area, consider this alternative.
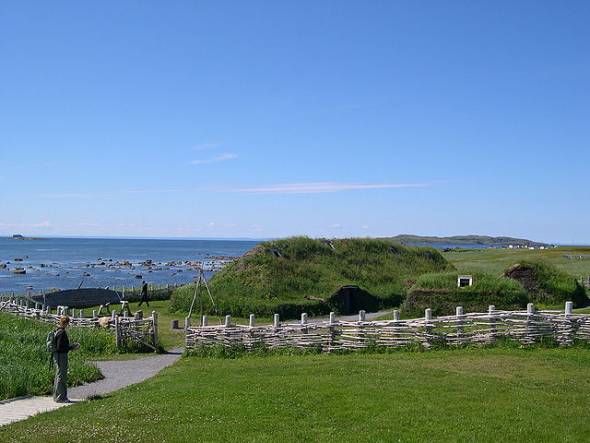
A living roof is exactly what it sounds like. You have soil as your roof and plants grow to cover it. It is beautiful, keeps your home cool, cheap and natural.
A living roof is definitely something we want to do one day, but have not yet got around to it. The main reason it wasn’t a higher priority on things to try out is that it is not very efficient with rainwater catchment. Once we have enough roofs and tanks to provide us, our animals and plants with more than enough water, even in a dry year, we’ll try it out.
One of the biggest advantages is that it will go a long way towards keeping your home temperate without any insulation. The soil has great thermal mass, but more than that, the plants themselves act as a kind of swamp cooler.
We have seen underground houses with a living roof and they blend right in to the countryside. Think hobbit houses.
If you want to use a lot of soil – which will increase your thermal mass, but is heavy – you will need to make the supporting structure very strong. You also want to put a reliable vapor barrier between your home and the soil. For the most part, the plants should be able to soak up most of the water, but it’s better to be safe than sorry.
Some people use less structure and a very thin layer of soil, forcing the roots to spread outwards instead of downwards and create a matting. The people that have tried this claim it is very successful.
You will want to put careful consideration into the plants you choose to grow on your roof. It’s all about how much water you get and how often. You do not want to have to water your roof during a drought. Plants native to your area are preferable, as they will not need extra attention to be able to survive.
The roof is where you will lose most of your home’s heat, as well as being the place that will heat up the most in summer. So if you want to conserve any energy put in to heating or cooling your house, you will have to pay special attention to insulation.
You will therefore need to think of your roof in three different stages: ceiling (strong enough to hold the insulation you intend to use), insulation, and then the roof itself. The order in which you do these things will depend upon the building material you use.
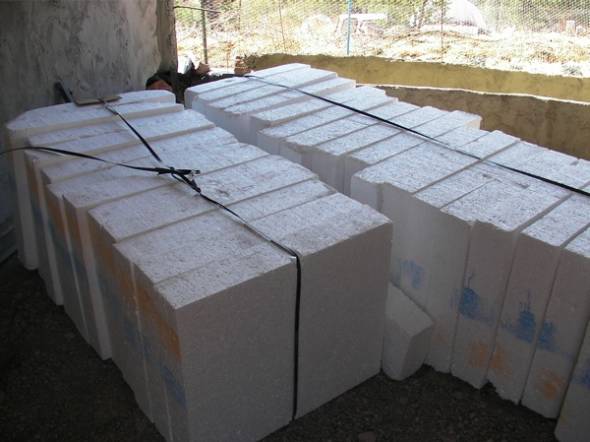
Styrofoam and fiberglass insulation is lightweight, so does not require a strong ceiling.
Straw bales make a great insulation, but are very heavy, so you will need to build a ceiling strong enough to support them.
One of the best forms of climate control for your home is a living roof, whereby you grow plants in soil. The dirt and plants will go a long way to keeping your home cool, and are exceptionally beautiful. The downside with them is that it is not as easy to do rainwater catchment off a living roof.
Always put plastic between the roof and insulation as a vapor barrier in case your roof should ever leak.
And try and paint your roof a light color, to better reflect the heat from the sun’s rays.


