

Some features can be made as you build, others can be added later. Many features will add greatly to your home, both practically and aesthetically.

Stairs can be made out of metal, wood, concrete, bricks, dirt, depending largely on what you want and where you want it.
Stairs can be a little trickier. Single steps are easy and best poured with concrete. However, a whole flight of them is harder than it looks, and it totally depends on your individual space and preferences.* You need to figure out the overall height and width you need to ascend, as well as the width and height that you want each individual step. Generally speaking, each step wants to be about 8″ tall and 10″ deep, but this can vary.
You can have freestanding staircase that looks more like a ladder. However, it is safer to have a more solid block of stairs.
We built our house into a hill, so the upstairs is actually just set in further up and back in the hill. We carved out stairs roughly out of the dirt that was there and then used forms to pour each step with concrete. We were in no rush to complete them, as we were building the upstairs rooms at the same time, so we had one form and poured the steps one at a time, starting at the bottom.
You can build a railing into the staircase, or attach it to the wall, if there are walls on both sides, as was the case with ours.
We also have stairs in our barn. These we did using the same principles listed in our Rapidobe how-to. We made a frame out of lumber and attached vinyl tarp to the inside. We then backfilled against the tarp of each step with dirt, and compacted it. It was a very cheap and quick way to build stairs, and has worked great.
Look at different designs and measurements before starting. You can make them as simple or ornate as you desire.

Windows and doors are essential for both light and breeze, not to mention access. You want to position them for maximum gain.
You need to know where to put both doors and windows before beginning your building project, as you may need to allow for them in the foundation.
You should put as few windows as possible on the north side of your house, as this is where it will be coldest in winter. Windows on the south wall however, with an eave to shade them in summer, will allow the sun’s warmth to enter the house in winter. Doors and windows should be placed so that there is a through breeze inside. A window facing into the prevalent wind will allow a breeze to enter, and a window on the opposite end will create a cooling draft through the house.
If possible, you will also want to position your windows to face the best views. They are not only a practical feature of your home, but also a beautiful one.
Some people use wooden frames and doors, but metal is much better. Not only is it stronger, it will not twist and bow like wood can.
Make your frames fractionally larger than the doors or windows themselves. You will need to tie those frames into the walls, and, in the case of doors, into the foundation. How you do so depends largely on your wall.
Make sure that your frames are set into the wall level and plum. You do not want them leaning in any direction. Then, when you are finished with construction of the outside of the house, you can hang the doors and windows.
Windows are fairly easy, as they usually have a frame of their own. So all you need to do is insert the window into the frame and screw it in. You the can stucco around the join, or simply silicon it.
Doors are a little more complicated, as they need to be able to swing freely on a hinge.
Windows and doors are the final touches to closing off your home. With a bit of time and patience, you can make these features functional and beautiful.

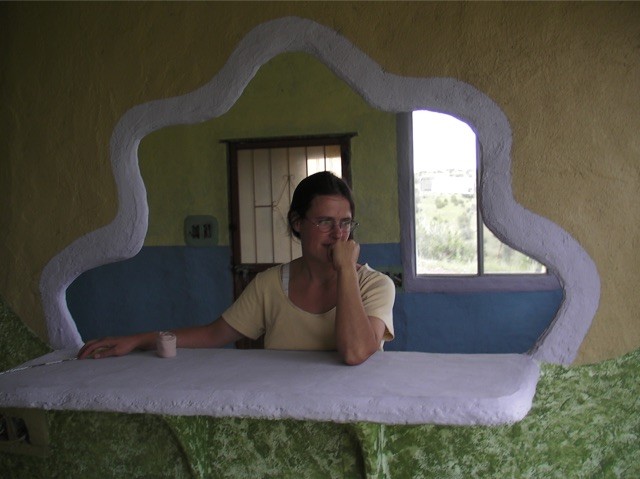
If you want to include features like small shelves, a bar, or benches, you have two main options.
First, you can make them after you have finished your building. To do this, you will likely use a material like wood or metal. You make each thing and have it as a separate, freestanding piece of furniture.
The other method is to build them as you make your walls. This will of course depend on what type of material you use for your walls, and will require some forethought.
Ferrocement is a great material to use for this type of thing. As you are making the metal frame for your walls, you can tie in a frame for shelves or a bar. You then stucco the feature as you stucco the walls. For more details, see our guide on ferro-cement.
Adobe is a great medium for sculpture. See our how-to on building an adobe fireplace for instructions on a bench and sculpted fireplace. If you’re pouring adobe bricks directly onto the wall, as described in our adobe how-to, you can put chunks or wood into the wet mud that are later removed, creating lovely little nooks and crannies.
Earthbags is another material that lends itself to built-in features, like benches and even shelves. While you are laying out the course of your earthbags and filling them, you can periodically turn one so that it sticks out from the wall. You can use these sticking out bags as benches, or bridge some wood between two sticking out ones to make a shelf.


