

The jar organizer, whether you use it for storing screws, seeds, spices, buttons, electronic parts, or anything else, is very versatile. This design accommodates 12 jars, up to 7” long. However you can vary how many jars you use by just changing the lengths of wood that you cut. For stability the base wants to be at least the length of your tallest jar. This unit also has space under it to store something, but if you don’t want anything under it, you can make it shorter (a little more than your tallest jar).
We originally used baby food jars, but they ended up self-sealing and we couldn’t get them off. So make sure you use a jar that has a proper screw on lid. Plastic is preferable to glass, but not necessary.

4 pieces of 2” x 4” x 16” Lumber
1 piece of 4” x 4” x 18” Lumber
12 Jars
2 x ¼” x 3” Lag Screws
4 x 3” Wood Screws
24 x ¾” Wood Screws
4 x ¼” Washers
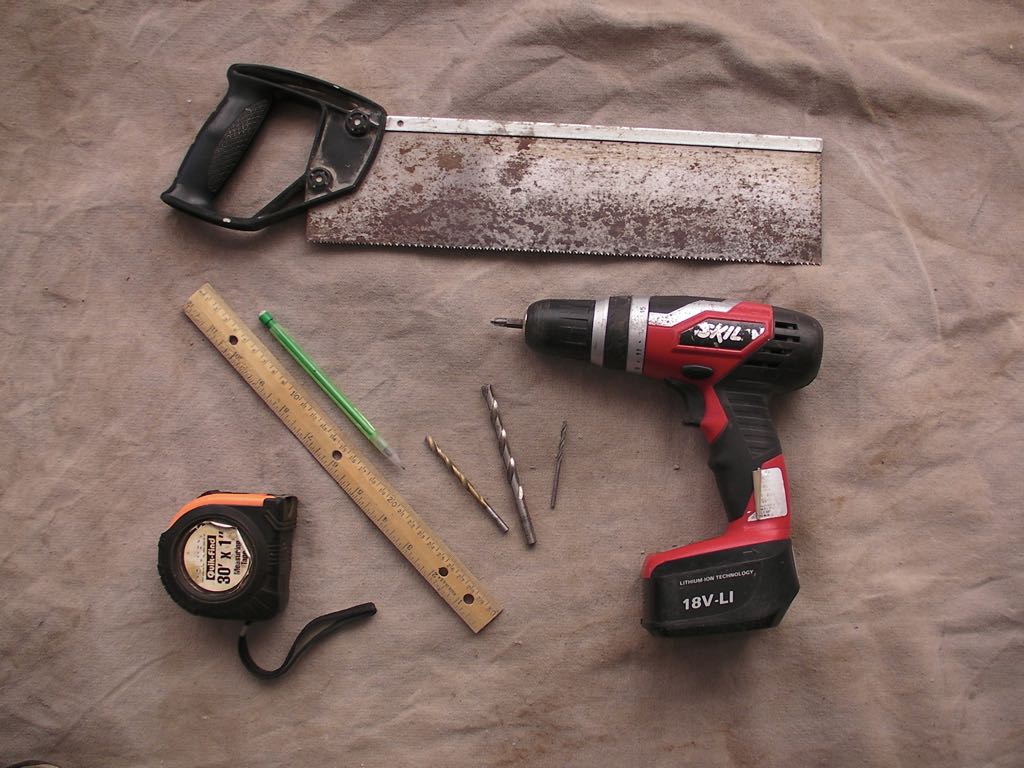
Wood Saw
Tape Measure
Marker
Ruler
Drill
1/16”, 13/62” and 5/16” drill bits


You can make the whole thing out of junk – jars, scraps of wood, even old paint – things that would have gone in the trash in any other home.


