

As with many systems, one of most important components is the storage mechanism. Water is no exception to this rule, and water storage is often overlooked as being “easy” to deal with. However, there are some key factors that you have to remember when dealing with your water.
First, you must have sufficient supply to meet your needs beyond just day-to-day uses. Because water is so essential, you should prepare for times of drought. What this means is storing enough water for long periods of usage.
This is especially true if you use rainwater catchment as your water source. Rains are unpredictable, so your system should be designed to sustain you until the next rain.
With any system using a pump, like with a well, you must bear in mind that pumps can fail. You will need enough storage to make it until you can get a new pump.
We often go nine months without hardly a drop of rain, so we calculate our needs for that period of time. We know how much we (us, our animals and plants) use in a month, how much our roof can catch, and how much rain we can expect in a season, and can thus size our system accordingly.

Cisterns are one of the most reliable forms of storing your water in an off-grid system. They are easy to monitor and control, so that you always know how much water you have on hand.
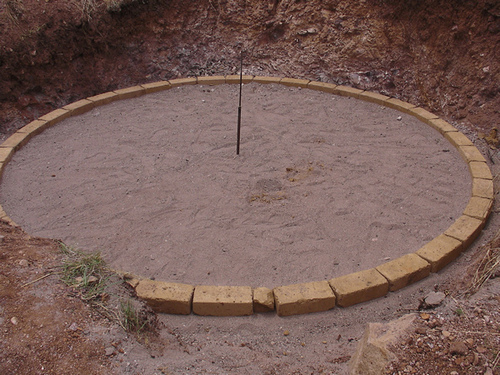
As with any building, a cistern needs a good foundation that must be level and soft. Avoid sharp objects on the pad like rocks, as they can wear holes in your tank over time. Compact the site as much as possible first, and always plan for drainage, in case of floods or tank failure. Never place a tank above a house, as this is asking for a disaster.
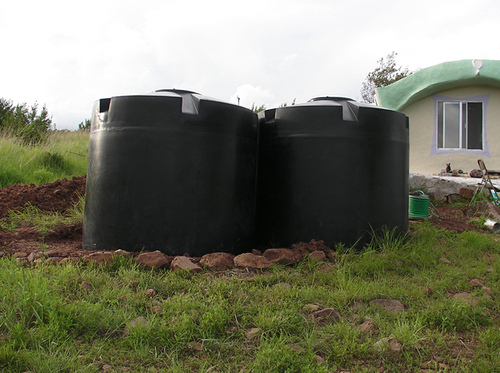
Plastic tanks are a fast way to store water. However, they are expensive, especially in larger sizes.
We bought two 1000 gallon plastic tanks when we were getting started. We had so much else to do and we wanted to get catchment set up as fast as possible. For that purpose they were perfect. As soon as we had time, we put more effort into building larger cisterns, and that is where plastic fails, due to the cost.
We also use plastic tanks for smaller sizes (200 gallons or less), where they tend to be more cost effective. We use this size tank for more mobile storage, like irrigating a particular patch of trees to get them started, or a small fish tank.
The nice thing about concrete, whether ferro-cement or poured, is that you can make a very large tank for the same price as a relatively small plastic tank. In our area, a 5,000 gallon ferro-cement tank would cost us roughly what a 1,500 gallon plastic tank costs.
Concrete cisterns can last a very long time, if they are built well to begin with. The thing to remember with concrete and water is that concrete naturally seeps water. You must make sure that there are no cold joins, especially between the slab and the walls, as this is where they will leak. One way to help with this is to use acrylic in your concrete mix, as acrylic adheres very well to itself.
When using ferro-cement, you are not tied to the shapes that are mass-produced, so you can make it fit with the style of your property. Many people have made ferro-cement tanks that look like giant boulders.
Do not consider building a concrete tank if you have no experience with this medium. Get your feet wet with other concrete projects before doing something that contains water.
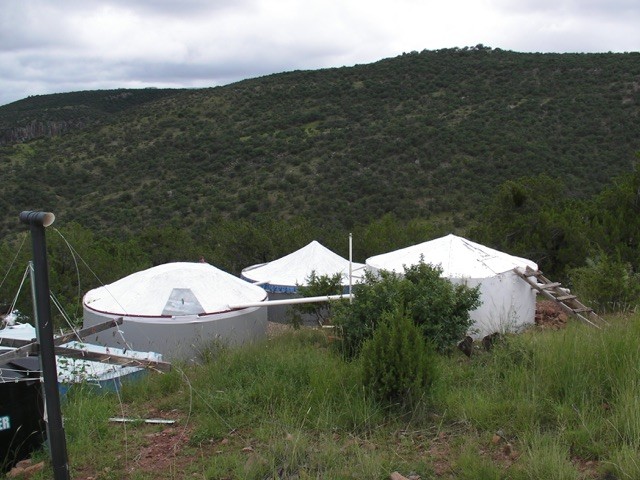
Making a shell to hold up a liner is our preferred manner of building cisterns. They are much cheaper than plastic and faster than concrete. Though not as durable as a well made concrete tank, they can last your life time.
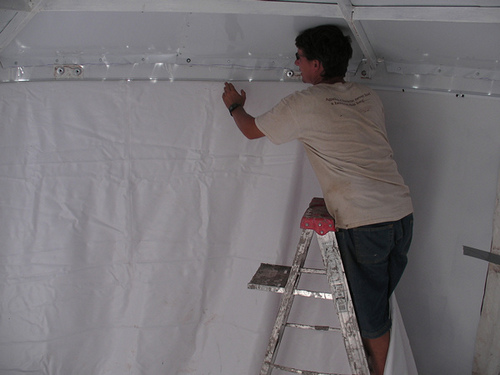
The basic principle is make a form for the liner. We have used sheet metal for this purpose, but also just a welded metal mesh. You then attach the liner to the inside of the form, and you’re pretty much done, other than the roof. Make sure that the liner is of the quality you need for its purpose, whether potable or irrigation. Also be careful that there are no sharp edges anywhere that can tear your liner.
If you want more information about making this kind of cistern, please consult our cistern how-to.

Dirt ponds are the cheapest method of storing large amounts of water. They should be situated so that the least volume of earth is moved for the greatest volume of water stored. These locations are usually in narrow valleys where the slope changes from very steep to shallow.
Place ponds where they give you the greatest amount of elevated water. This is the most valuable water on the property because it does not need a pump to deliver it downhill.
Ponds should be made to overflow laterally, not vertically. So, a chain of ponds are all very similar in elevation. This spreads the water out over the land, instead of pouring it downhill, which creates erosion and storage issues. A dam should be at least one meter taller than the spillway or overflow
You can dig a pond by hand, but hiring a machine to do the work for you is a better idea. Not only can a machine do it a lot faster, but its weight will help compact the earth for you.
You can use animals like pigs to help seal a pond. Not only will they compact it, their manure is a natural sealer.
We had a machine dig us a huge pond in a natural cleft in our land. The first year was great. We went swimming every day and we even caught a few fish to throw in there. However, we then got a bunch of rain over a couple of days and we discovered that our spillway was not low enough. The dam burst and caused enormous damage. We had to get the machine back in to repair and raise the dam and cut the spillway a little lower. They also dug us another, smaller pond at the base of the spillway, so that when one fills up, it will overflow into the other.
To help fill your pond quicker, dig trenches that follow the contour of your land and lead into the pond. You are thus augmenting your catchment area.
Expect your pond to lose water for the first year or so. To compensate for this, create a healthy ecosystem for your pond. Water plants, fish, algae, shade trees will all limit evaporation and even help seal the floor. Plus they will keep your water cleaner so that you can better enjoy it as a pool.
Organic matter can hold many times its weight in water. Soils with high organic content for the top twelve inches of soil can hold more than ten times the amount of water as depleted soils. So, by increasing the quality of your soil, you can help it hold more water and thus lessen the amount of extra water you need to give your plants.
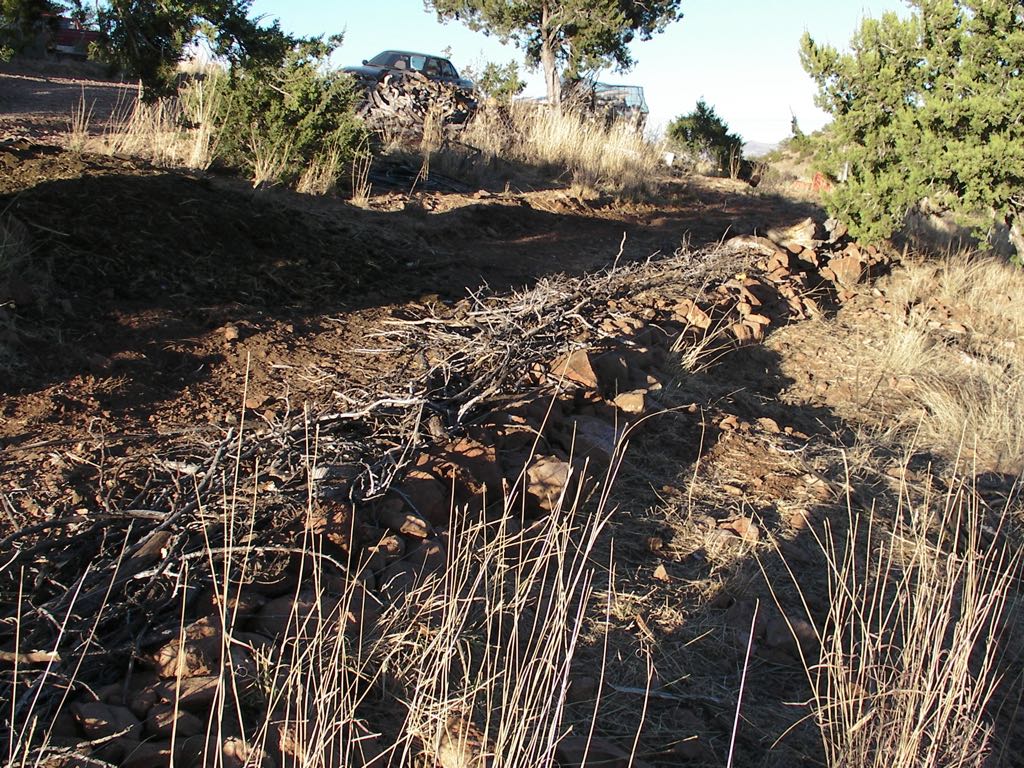
Making swales across your property will also help store water. Following your contour lines, make small rock walls or trenches, and then fill the uphill part with organic matter, even tree cuttings. This acts as a catchment for water, and helps prevent runoff. On the downhill side you can plant trees. Trees can help hold the soil in place and soak up the excess water. There are also very good mulch sources, which will provide organic matter for the soil.
Erosion control is another factor when maintaining the quality of your soil. As water from a heavy rain runs off, it can carry a lot of the topsoil and leaves your soil even less capable of holding water. You can guide where that run off goes and help prevent it by using swales and plants.
Plants are one of the best ways to control erosion. They’ll suck up water, and their root structure will help hold the earth together. Just look at the damage caused when large chunks of rain forest are cut down.


